
How to Track Donations with Google Tag Manager
For many nonprofits, it’s common to use third-party fundraising tools like Network for Good. Oftentimes these tools don’t offer native integration or embedding features, so nonprofits end up placing a donate button on their website that links off to their third-party donation page.
When this is the nonprofit’s only option, it can be frustrating because it’s unclear what sources are referring donations. Luckily, there is a workaround: Track your donation buttons clicks with Google Tag Manager.
It’s important to recognize that this won’t be the perfect solution. The perfect solution is to track a successful donation and its amount back to its referral source, but if your nonprofit is unable to natively integrate its fundraising tool, this is the next best solution.
By completing the step-by-step instructions below, you will be able to track the number of clicks on your donation button and attribute those clicks to a referral source.
Before You Begin
- Create a Google Tag Manager (GTM) account.
- Install the GTM pixels on your website. At the very least, make sure it’s on the page with the button that you want to track. I promise this is the only time you need backend access.
Summary
1. Create and test a generic click trigger
2. Filter the click trigger to the button you want to track
3. Create an event tag based on the trigger
BONUS: Set up a Google Analytics goal based on your event tag
Instructions to Track Button Clicks
1. First, we want to create a generic click trigger. In GTM, go to Triggers > New.
2. Create a trigger called Generic Click Trigger:
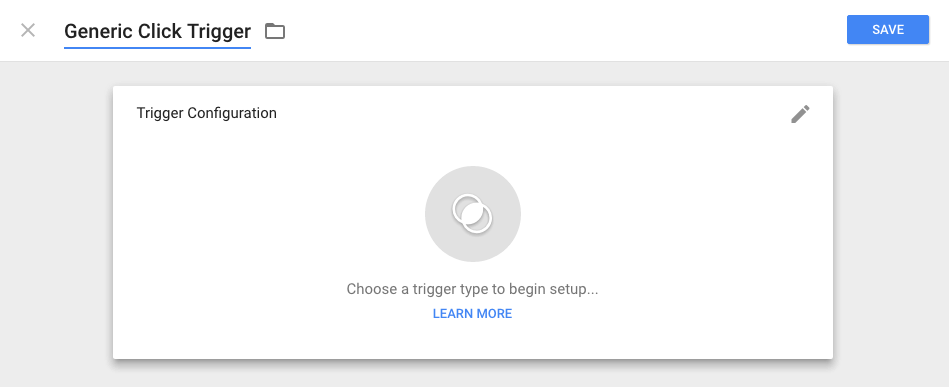
3. Click on the Trigger Configuration box > select All Elements under Click > select All Clicks.
4. After you save, we now need to filter the clicks to our button.
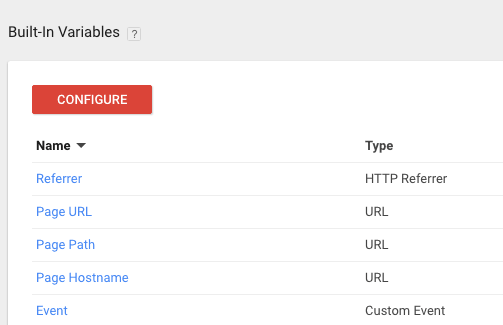
5. We need to make sure GTM will track click variables, because they’ll be our filters. Go to Variables.
6. Click “Configure” under Built-in Variables:
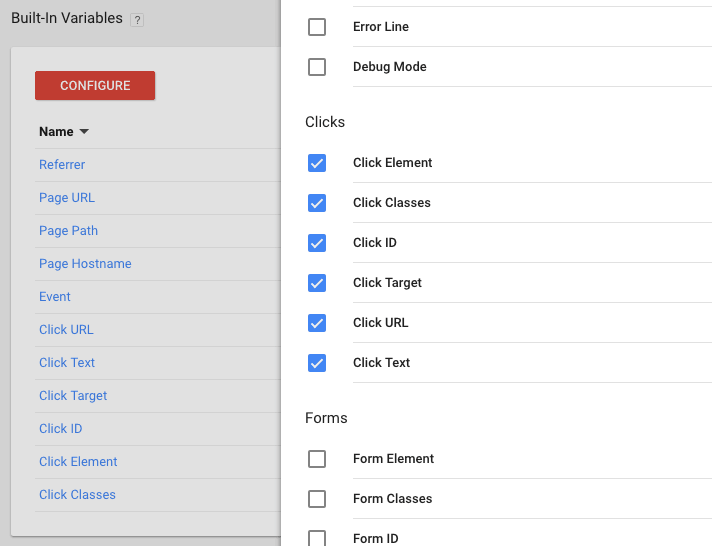
7. Scroll down and check all the checkboxes under Clicks:
8. Now, on the top right of the screen, click Save. Then click Preview.
9. In a new tab, open the page with the button on it that you want to track. If you already have it open, refresh. You should see the GTM console at the bottom of the screen.
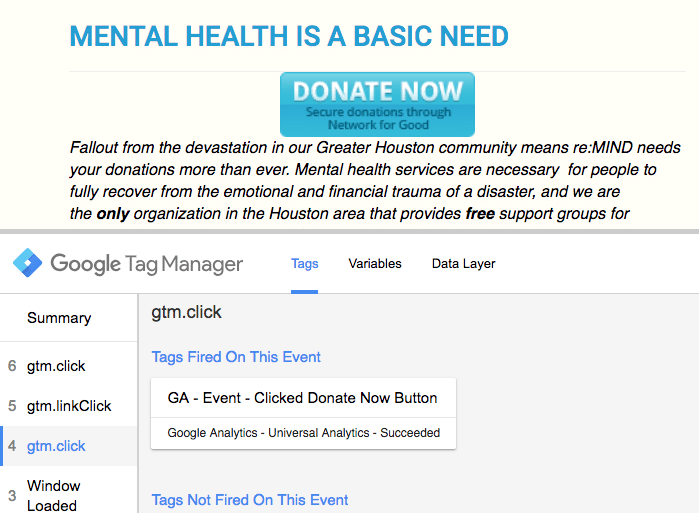
For Media Cause client re:MIND, we want to track clicks on the “DONATE NOW” button on their donation page. In the screenshot below, you can see this page with the GTM console open:
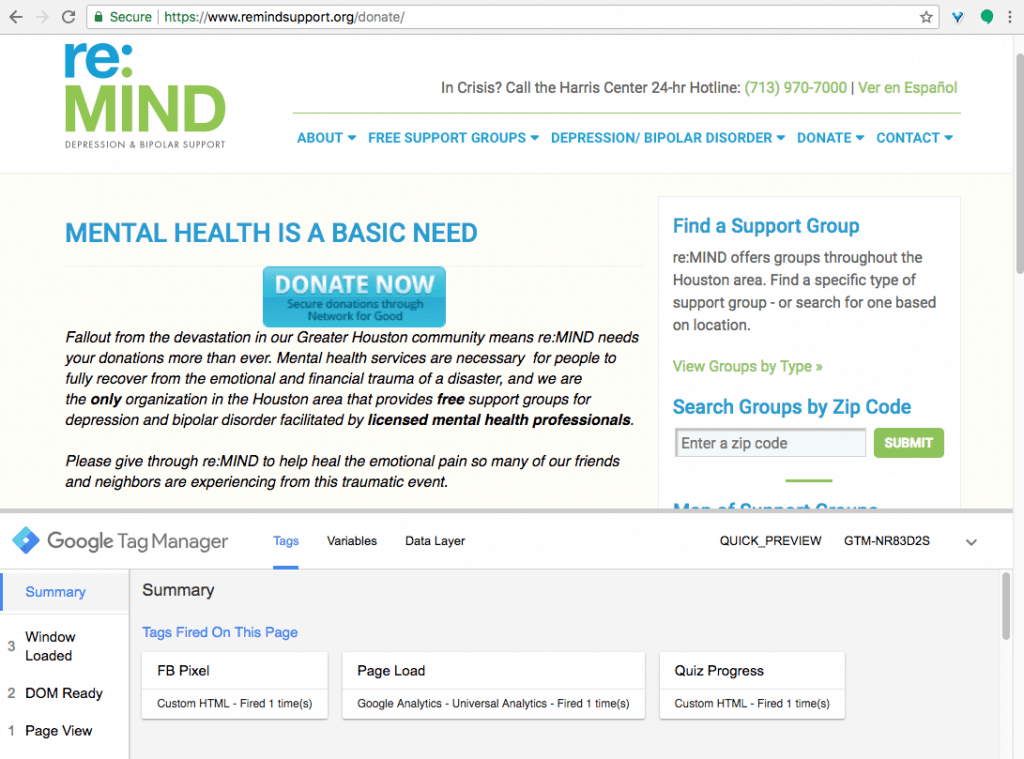
10. From here, notice the Summary on the left. Notice how many elements it has. In my example below, there are 3 elements. We are going to click the button to see what new elements show up in the Summary.
11. When you are ready to click your button, hold down your keyboard’s COMMAND button and click the button. The COMMAND key opens the link in a new tab. This allows us to see what new elements show up in this GTM module without leaving the page.
12. In your original tab, the Summary should have new elements. My new one is gtm.click #4. Ignore my #5 and 6 element.
It might be hard to tell which new element was triggered by your button click. Click on the variables tab to see which gtm.click is the one for your button. For me, I can tell #4 is the correct one because the “Click ID” is ‘imgDonateButton’, which obviously means the donate button. In a nutshell, these variables are associated with your button. A different variable – Click Text, Click Element, Click Target, might give you clues that you’re looking at the right button.
![]()
Now, we want to filter our Generic Click Trigger using these variables.
13. Back in your GTM tab, go to Triggers > click on your Generic Click Trigger. Re-name it to what you want to track. I titled mine “Clicked Donate Now Button”
14. Under Trigger Configuration, change All Clicks to Some Clicks. Then when it comes to the dropdown bar, I’m choosing Click ID and pasting the Click Text that the Variables box gave me:
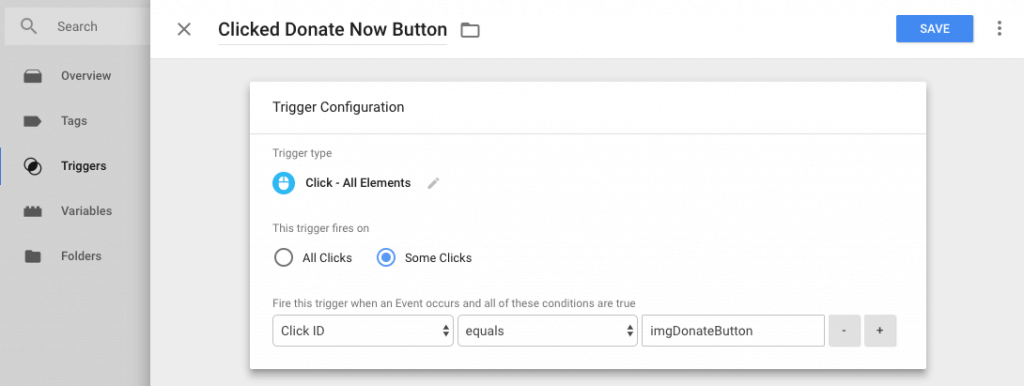
You don’t have to use Click ID. You can use whatever element that helped you identify that button as your donate button.
Be wary of button elements that might be used for many buttons, for example “yellow-button.” Colors are often used for button classes. If your website has a lot of yellow buttons, they likely all use the same element name of “yellow-button”. If you use this as your trigger, you’re going to end up firing your donate button Event tracking every time someone clicks a yellow button.
15. Save. Now we want to create our actual event tracking tags. Go to Tags > click New.
16. Name your tag. I named mine “GA – Event – Clicked Donate Now Button”. To me, that means this is a Google Analytics event tracking tag that’s recording when someone clicks the Donate Now button.
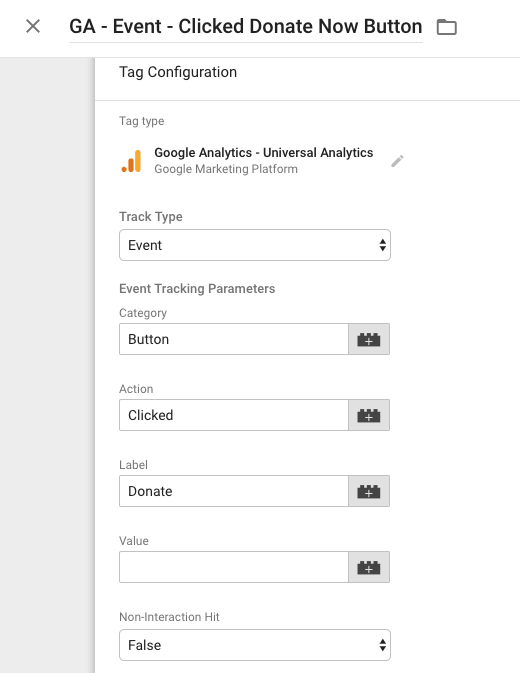
17. Click on the Tag Configuration box > your Tag Type should be Universal Analytics. Select Event as your Tag Type. Set your Event tags. What Events do you want to fire off when someone clicks the button? This will show up in Google Analytics event tracking section, so it should be recognizable.
For re:MIND, we used these very simple Event tags:
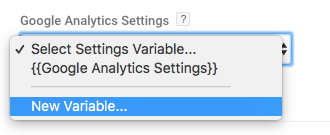
18. If this is your first Event tag, you’ll want to make sure this Event goes into your Google Analytics. In “Google Analytics Settings”, click New Variable.
Put your Google Analytics ID. This can be found by going to Google Analytics > clicking your property > Admin > Property Settings > copy your Tracking ID. Copy the whole thing, including “UA-”
Keep “Cookie Domain” as auto and Save.
19. Now, you need to set the Triggering box. It’s right underneath the Tag Configuration box where we had set up our Events.
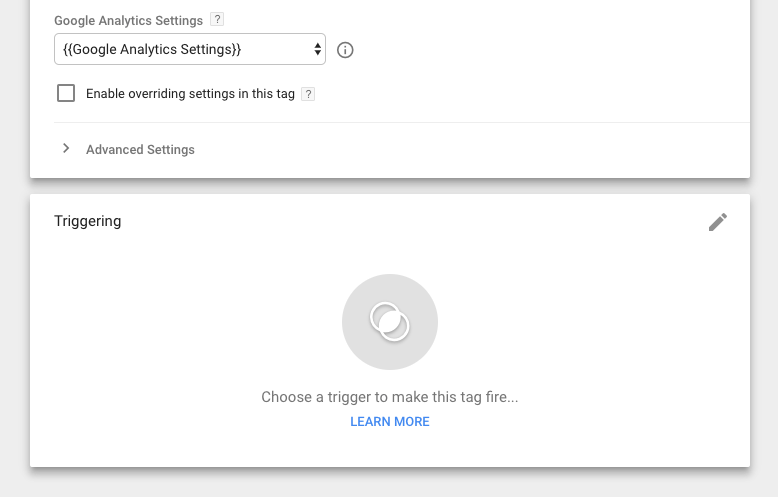
20. Click the Triggering box. You should see the trigger you created. Mine is “Clicked Donate Now Button.” Choose that.
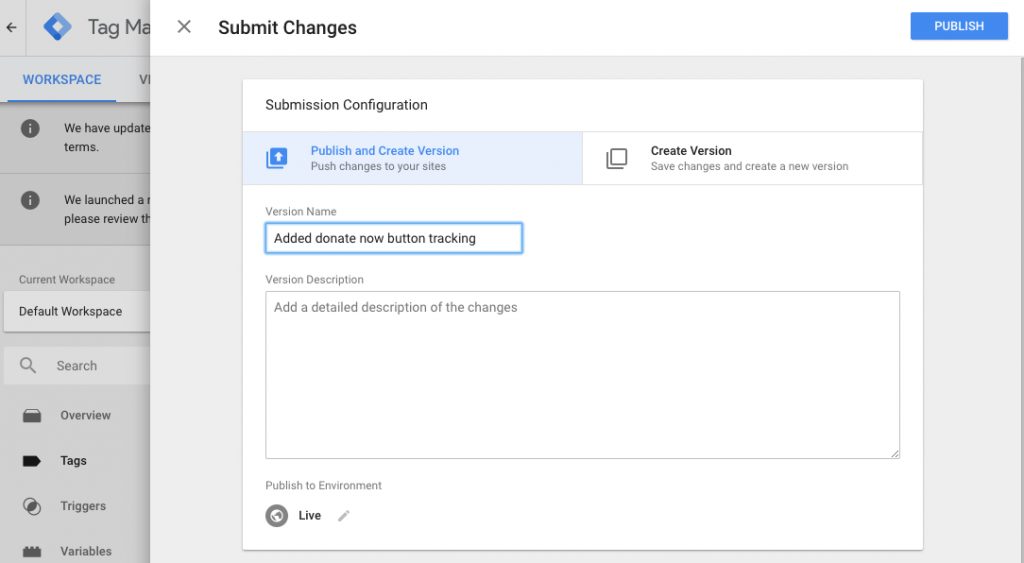
21. Save. Click the blue Submit button on the top right. You can specify what changes you’ve made if you like. When you’re done, click Publish.
22. That’s it! Now you want to test your button to make sure your new Event tag fires off when someone clicks on it. Click Refresh to refresh your preview mode.
23. Refresh the tab you have open with your button.
24. Click on your button (remember to hold COMMAND, so your current tab doesn’t change).
25. In the same GTM console, view the “Tags” tab. You should see a gtm.click variable with the tag you just created:
26. Go into Google Analytics > Real-time > Events, and you should see it.
27. PRO TIP: To make it easy to tie a donation button click to a referral source (like google / organic, etc), you could set up your Event tag as a Goal in Google Analytics. This makes it easier to see important metrics like conversion rates between referral sources.
In Google Analytics, go to Admin > Goals > Create a new Goal. Choose “Event” as the goal type and use the same Category, Action, and Label as you used when you created the tag in Google Tag Manager.
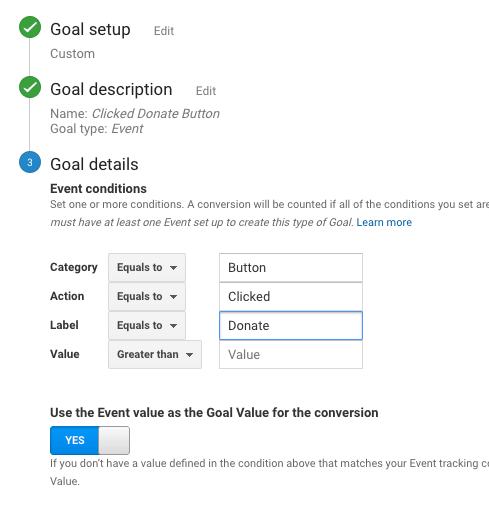
Save, and double-check that you’ve turned on the goal:
![]()
That’s it! Now you’re firing off Events and triggering a goal completion in Google Analytics every time someone clicks your Donate button.
Tracking your conversions is key to success. If your organization needs help tracking goals and conversions, get in touch to see how we can help you.